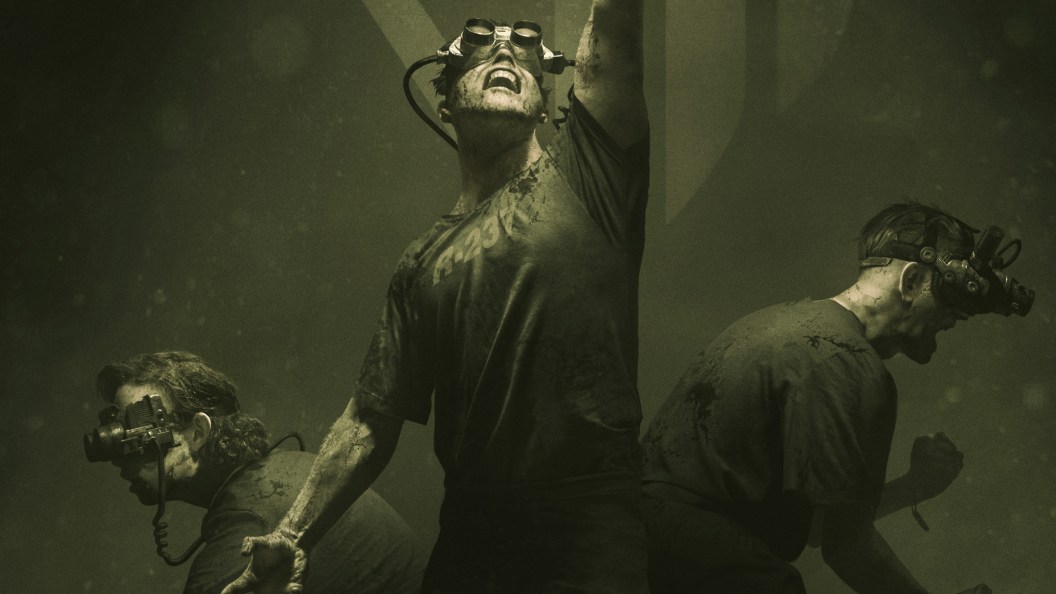
The Outlast Trials offers endless replayability and unique elements that keep the horror genre enticing. The game delivers heart-thumping jump scares, adrenaline-fueled chases, and item management. Players can play solo or team up to conquer objectives called ‘trials’ where survival and strategy are key. Any help within the trials can make a huge difference, and players can gain upgrades as they level up. In order to score an A+ grade and look good in front of the Murkoff scientists, players will have an array of prescriptions, amps, and rigs. We’ve broken down the rigs in The Outlast Trials and paired them with the most recent therapy assignments to help you get through those tasks and tell those enemies, “Say hello to my little friend.”
Rigs are attachable equipment that players can use during a trial. There is a fun variety to choose from, and players can purchase them from Noakes once they reach Level 2 via green tickets acquired from completing tasks and trials. Completing tasks is key to getting in-game currency for upgrades, cosmetics, and cool gear so you can face your next trial in style.
Check Off Those Rig Tasks
Whether you are familiar with all six rigs or stick to your favorite, here are some tips on where and how to use them for the new update.
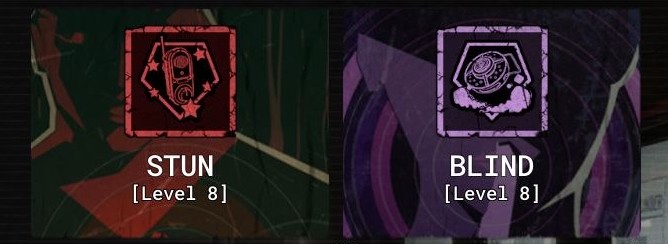
Stun: The Stun Rig is the easiest to understand and apply to any trial. Players cannot go wrong with the Stun Rig in their arsenal. It can stun enemies, destroy traps, and restore some juice to your battery and stamina. As a personal favorite, any tasks around this rig are easy to check off. We suggest keeping one Stun Rig handy when you reach the shuttle, just in case one of the enemies decides to pay you a parting visit.
Blind: Like the Stun Rig, Blind is effective when used strategically. This rig is a great tool to help players in tight situations. The most effective maps for this setup are those where you must stay in one location for a while. The only drawback is that the deploy time is a little long, and if an enemy hits you before you finish laying down the mine, it resets.
Any missions in the Courthouse are a safe bet, considering they involve UV light-code boxes, microwaving the evidence ex-pops, and pouring acid in well-lit areas. Having a Blind rig while your back is turned, adjusting soundwaves, or cracking a generator may also ease some of your nerves. These maps include “Fuel The Release” and “Kidnap The Mistress.”

Heal: Regardless of the difficulty and map, the Heal rig is a sound option. If players are teaming up to accomplish therapy together, it never fails to have at least one healer. In a pinch, the Heal rig staggers and slows enemies, but most importantly, it cures psychosis. No one likes to be pursued by the fabled Skinner Man, and running around desperate for an antidote can put you in more danger. There are usually a few tasks centered around utilizing the Heal rig, so we suggest knocking a few tasks out together.
X-Ray: X-Ray is for the stealthy player looking to avoid conflict and get objectives done quickly and with little consequence. Players can find keys within the deepest guts, evidence documents, helpful items, sound traps, pesky surveillance cameras, and, most importantly, enemies through walls while this rig is active. When upgraded, player teammates can find consumables, mission items and spot nearby enemies. Some of the best maps to use this rig on are “Kill the Snitch,” “Eliminate The Past,” “Reunite The Family,” and “Stash the Contraband.”

Barricade: As the name implies, the Barricade Rig is what players want to use to make doors tougher to get through. If enemies break down a door secured by this rig, the player will receive an alert ping. The best maps to seal those doors include the Courthouse with the UV light-code boxes to buy you some extra time and peace of mind.
Jammer: Jammer shines when the difficulty is standard and above. The more challenging the trials are, the more likely you’ll bump into traps and padlocked obstacles. The Jammer Rig does more than assist in making your journey to an A+ easier. It also sabotages enemies and their traps. For example, a pesky land mine can be turned against those ex-pops and have the same effect as a first-level Blind mine.
Jammer Rig is a fantastic rig for any and every situation. It’s great in confidential rooms and gives you enough time to revive yourself or a fallen ally. It helps with sound gates, temporarily stops cameras, opens secret rooms, and deactivates alarm doors. The list goes on, and anything electronic stands no chance against you and this equipment, so give it a go!
[RELATED: Dead by Daylight Gets First New Update After Tokyo Ghoul Release ]
Quick Play or Nay?
Matchmaking in The Outlast Trials is relatively smooth. After selecting the game mode, there is a prompt for quick play. However, this doesn’t promise you will be matched with players within the same level pool. It is probably not the best if you need to collect schematics because it counts for who picks it up, but having a team while you test out a rig you’re unfamiliar with or don’t enjoy using makes for a great safety net.
Now that you’ve done some research, it’s time to buckle in for those trials, earn some tickets, and prepare to escape. Be sure to snag the 1 Year Anniversary rewards exclusive until April 22nd for cosmetics and icons!

The post The Outlast Trials Guide to the Best Rigs & When to Choose Them appeared first on ComicBook.com.