Blue Prince is one of the best puzzle games to come out in the last few years. It mixes roguelike card drafting with devilishly difficult puzzles. Unfortunately, Blue Prince‘s roguelike nature does mean that RNG can come into play, making it feel impossible to draft the room you need to build your preferred path through the mansion. Thankfully, many of the items you pick up let you twist that RNG in your favor, or at least let you better roll with the punches.
Before diving into our favorite Blue Prince items, it’s important to note that we’re only going to include items you see regularly. While the expensive items in the Showroom are some of the best in the game, you can’t reliably get them until you’re deep into Blue Prince‘s puzzles. We’re also not going to rank the Contraptions you can build in the Workshop, but we will include them in our assessment of the items that combine to make them. With that out of the way, here are our favorite items in Blue Prince, ranked by their usefulness.
20) Hall Pass
The Hall Pass is great if you want to make cheap Hallways to get around the mansion, but it has limited utility. That doesn’t necessarily make it a bad item; we’ve just found it to be less useful than everything else in Blue Prince.
19) Compass

The Compass helps you draft rooms that lead North, which is great for reaching the Antechamber when you’re in the early stages of Blue Prince. You can also combine it with some other items to make the Electromagnet or the Dowsing Rod, making it slightly more useful. However, we found ourselves using it less and less the further we dug into Blue Prince’s puzzles.
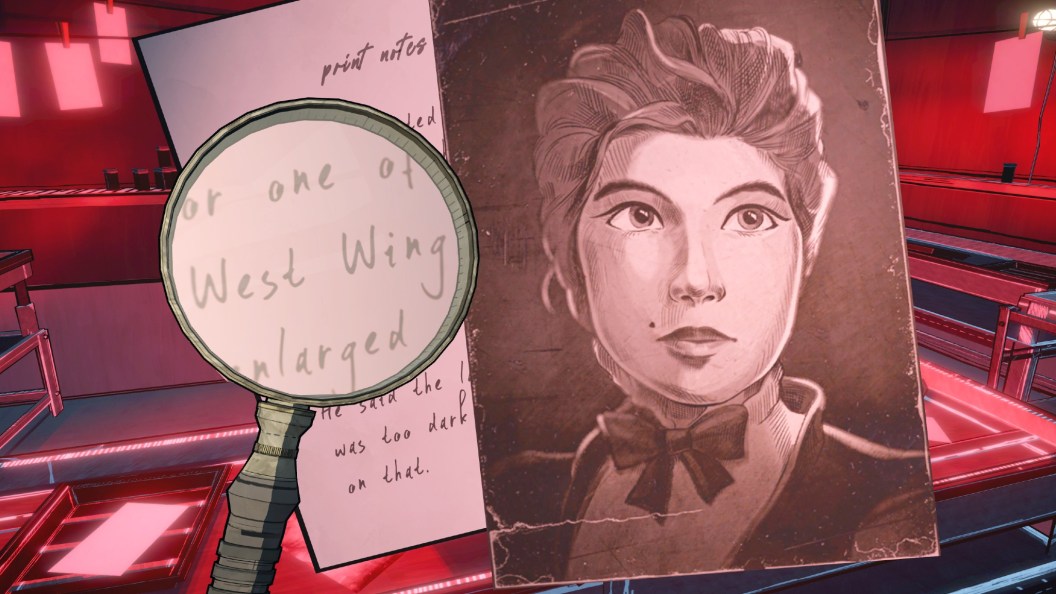
18) Magnifying Glass
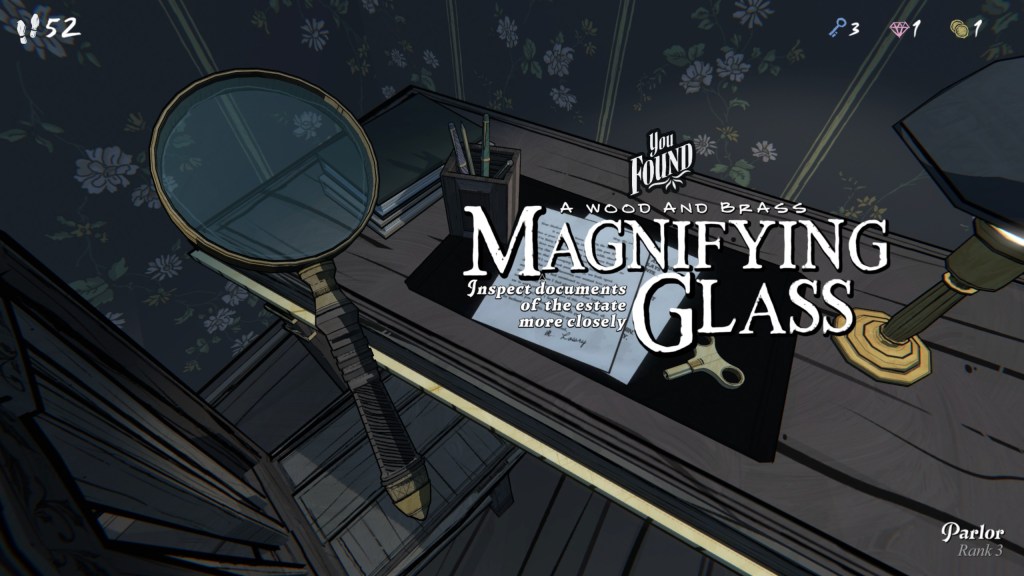
When you first get the Magnifying Glass, it’s a must-have because it lets you closely inspect letters to find more clues. Once you’ve looked at everything, the Magnifying Glass becomes an afterthought unless you can combine it with the Metal Detector to create the Burning Glass. That can light candles, which comes in handy in certain rooms.
17) Telescope
The Telescope gives you extra effects from the Observatory, which can be very powerful, depending on what you earn from the room that day. However, if you never place the Observatory, the Telescope is essentially a fancy-looking piece of junk.
16) Repellant
If you want to get rid of a certain room, Repellant is a great item. It lets you take a room out of the drafting pool for a week. That’s very powerful, but limited in usefulness unless you’re really tired of solving the Dartboard puzzle in the Billiard Room and don’t want to see it for seven days.
15) Stopwatch
Like the Repellant, the Stopwatch can be great if things line up. This item lets you freely select any room from any Drafting Room for a minute. If you get the right rooms, you’re in the money. Otherwise, it’s underwhelming.
14) Gear Wrench
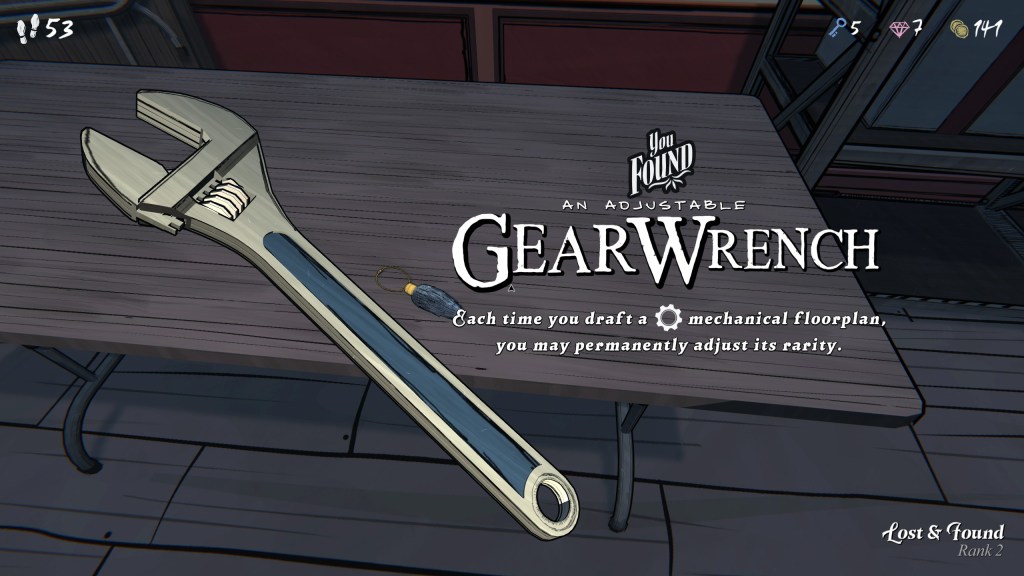
The Gear Wrench lets you change the rarity of Mechanical Rooms like Security and the Boiler Room. Once you set those rooms to the rarity you want, the Wrench has limited use. You’ll want to find it a few times to make key rooms easier to find, but this isn’t a must-get item in most runs.
13) Discount Coupon Book
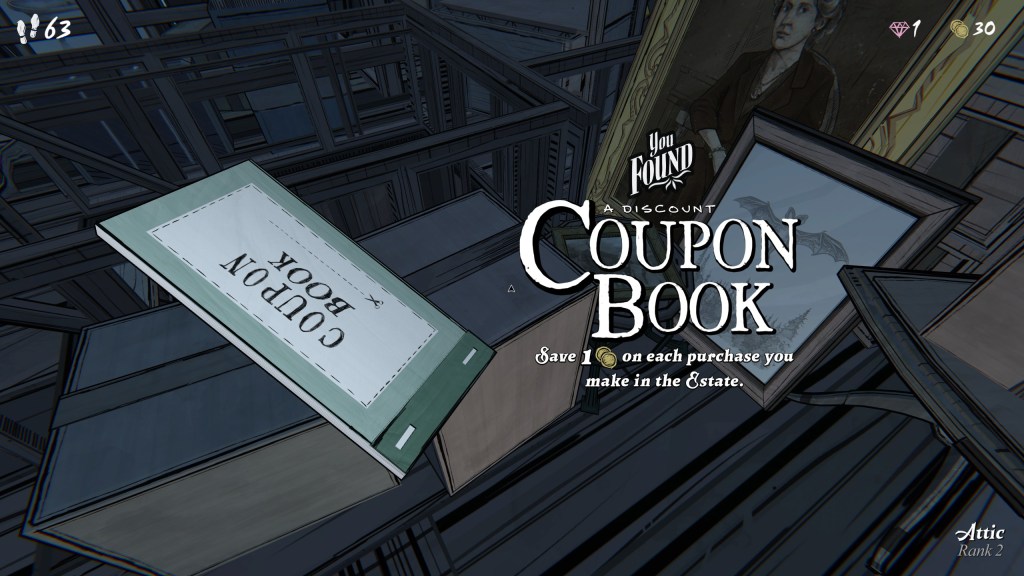
You’ll get one Coin off of each purchase made when you have the Discount Coupon Book. It’s a “nice-to-have,” but you probably won’t notice a difference in most runs whether you have it or not.
12) Salt Shaker
The Salt Shaker is essentially the same thing as the Discount Coupon Book, but for Steps. Each item you eat gives you one extra step when you have the Salt Shaker. You won’t be mad when it shows up, but you’re not singing in the streets either.
11) Sleep Mask

One last “nice-to-have” for the road. The Sleep Mask gives you five extra Steps every time you walk into a new bedroom. It can be a run-saver in a pinch and is net positive at worst.
10) Battery Pack

On its own, the Battery Pack doesn’t actually do anything, so you might be wondering why we’re scoring it so highly. Well, you need it to craft three of the eight Contraptions, including two of the most powerful ones in the game. The Battery Pack is key for the Electromagnet, Jack Hammer, and Power Hammer. The Power Hammer, in particular, is important because it opens up several hidden alcoves in rooms around Blue Prince’s mansion.
9) Broken Lever
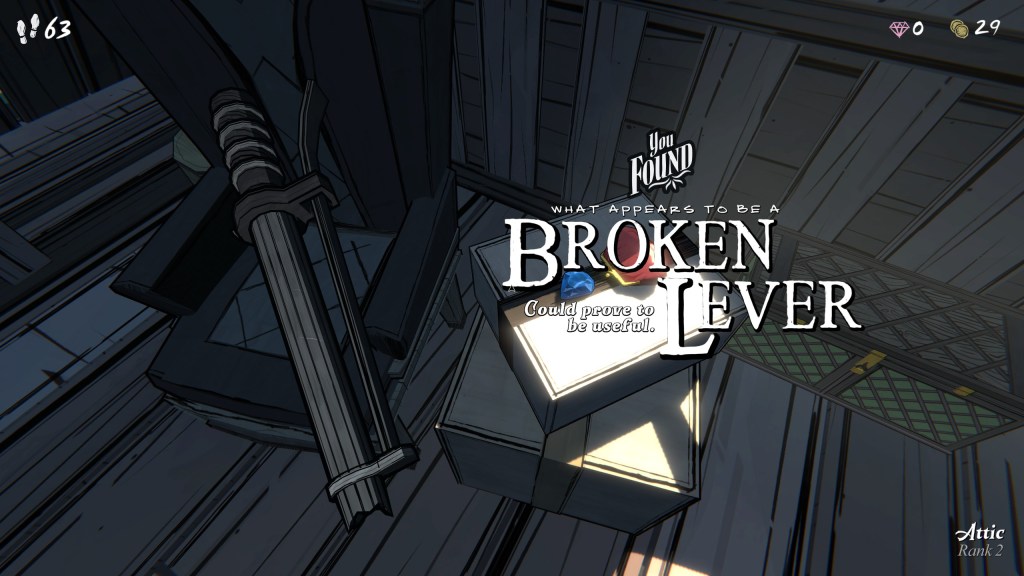
The Broken Lever is similar to the Battery Pack, though it does have a use outside of building Contraptions. You need it to open a few of the Antechamber doors, making it very helpful for progression. The Broken Lever is also used in making the Jack Hammer and the Power Hammer, making it a must-find for most runs.
8) Sledgehammer

The Sledgehammer lets you break locks on boxes that randomly appear around the mansion. However, those boxes are relatively rare, making the Sledgehammer slightly less useful than some of the other common items in Blue Prince. However, it combines with the Battery Pack and Broken Lever to make the Power Hammer, which is needed for many mid- and late-game puzzles.
7) Coin Purse
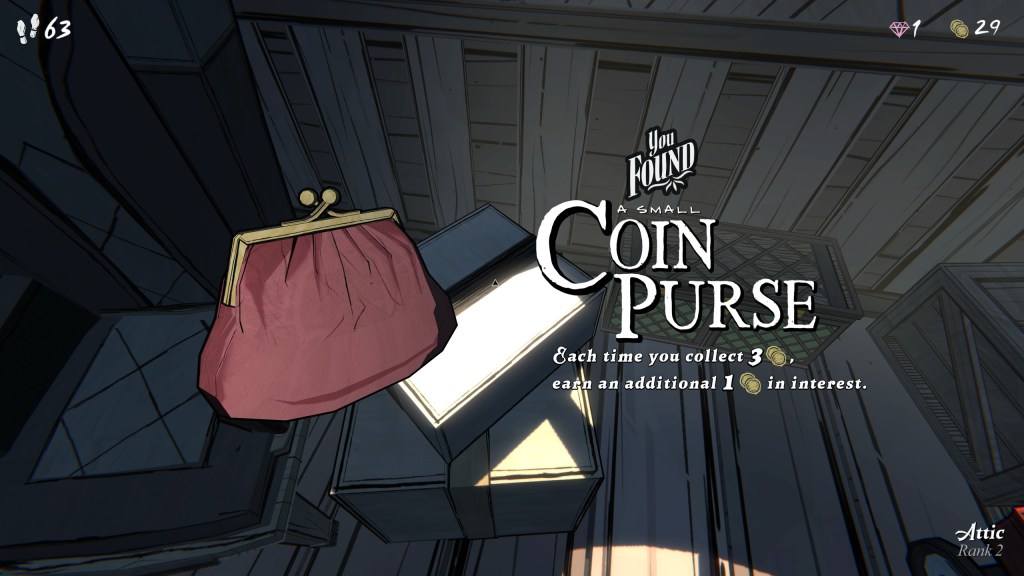
With the Coin Purse, you’ll gain an additional Coin each time you earn three Coins. The conversion might seem weak at first, but if you’re able to combine it with the Lucky Rabbit’s Foot in the Workshop, you’ll earn the Lucky Purse, which doubles your Coin gain. With prices for late-game items reaching into the 100s, the Coin Purse quickly becomes a must-get item.
6) Running Shoes
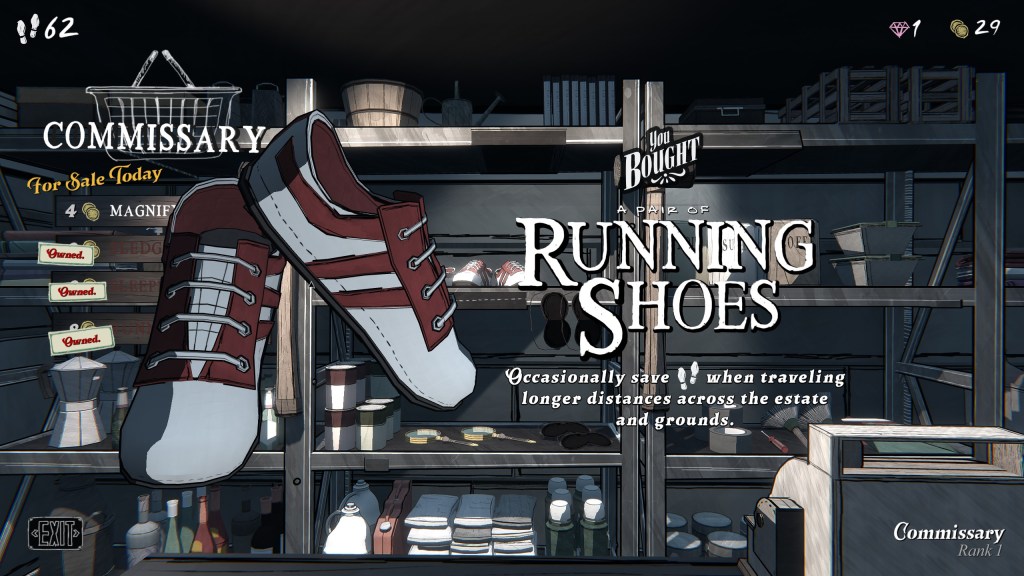
You have little control over when rooms will appear during a specific run. There are ways to influence the RNG, but at the end of the day, you’re relying on luck for good room placement. The Running Shoes will save you steps any time you need to run across the mansion, making them a powerful addition during any stage of the game.
5) Lucky Rabbit’s Foot
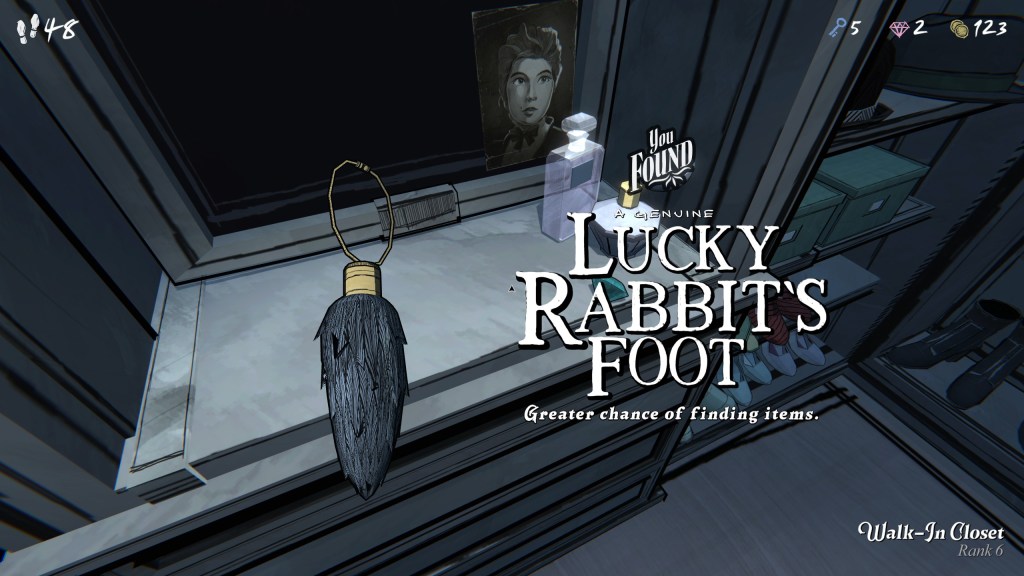
You want to see the Lucky Rabbit’s Foot as early as possible because it gives you a better chance of finding items. As mentioned, it also partners with the Coin Purse to create the Lucky Purse and make you rich.
4) Watering Can
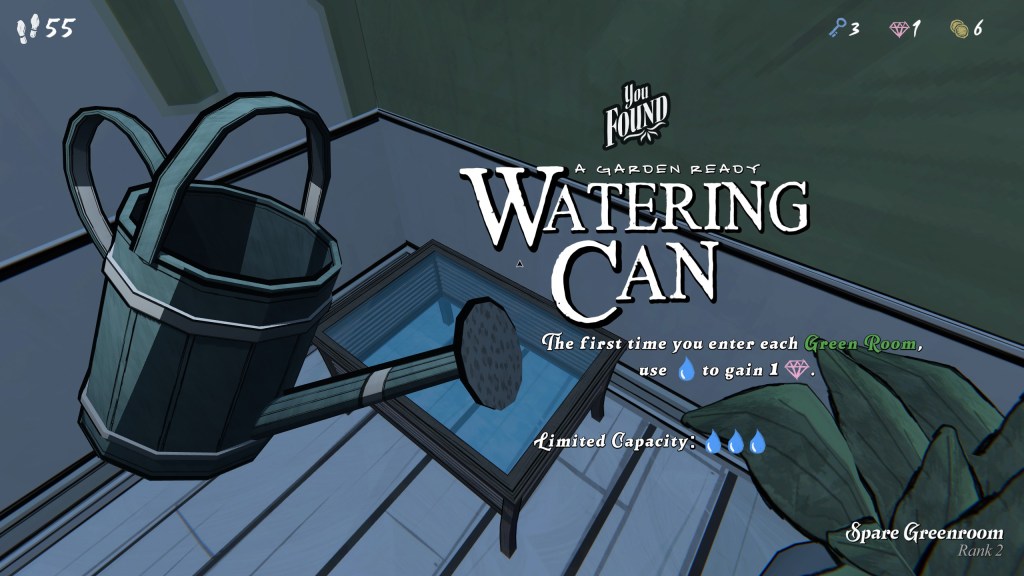
The Watering Can gives you free Gems in the first three Green Rooms you enter. You can also fill the can back up in certain rooms, making it a great source for free Gems. You’ll need those for several high-cost rooms, so the Watering Can is always worth seeking out.
3) Metal Detector
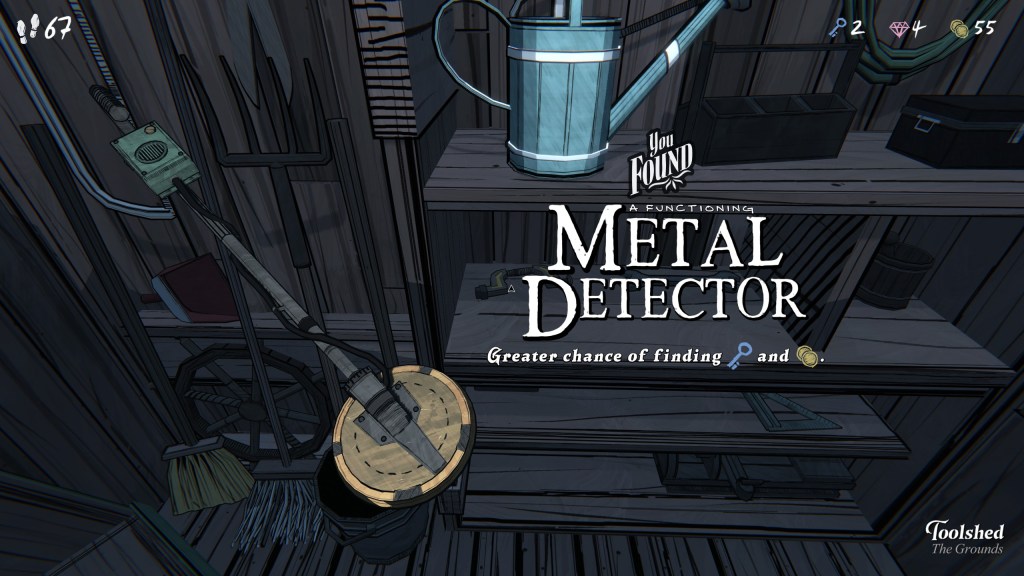
Your need to find Keys and Gems will slowly disappear as you delve into Blue Prince‘s depths, but it never goes away completely. Thankfully, the Metal Detector is always there, helping you find everything you need for a successful run. Plus, you can combine it with other items to create the Burning Glass (lets you light candles), the Pick Sound Amplifier (pick locks more easily), or the Detector Shovel (find even more Keys and Coins while digging) Contraptions.
2) Shovel
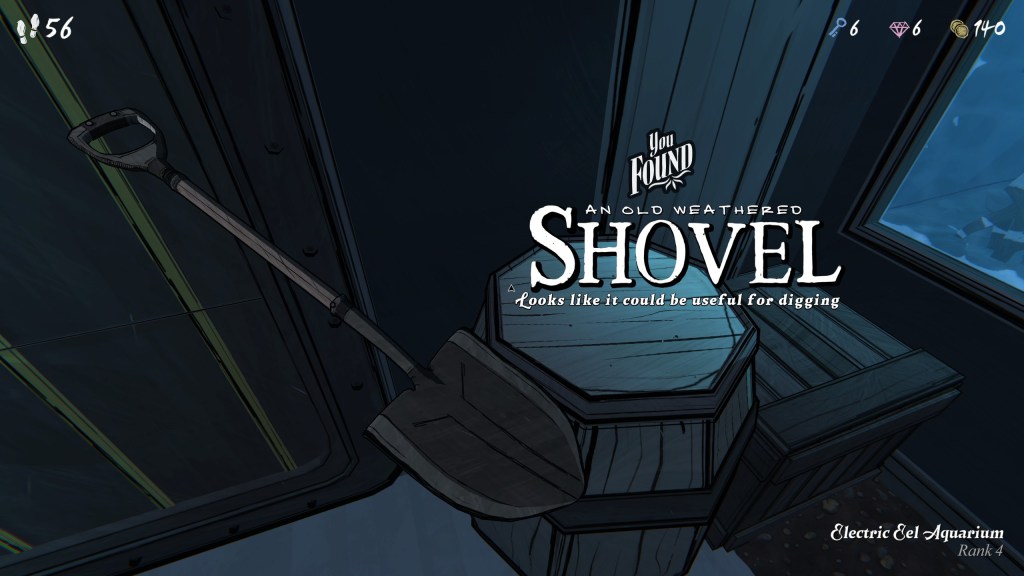
The Shovel lets you dig up Coins and Keys in Dig Spots. You’ll reliably find these all over the map, making the Shovel more useful than the Sledgehammer. As mentioned, you can also use it to create the Detector Shovel, Dowsing Rod, and Jack Hammer. If you see one, grab it immediately.
1) Lockpick
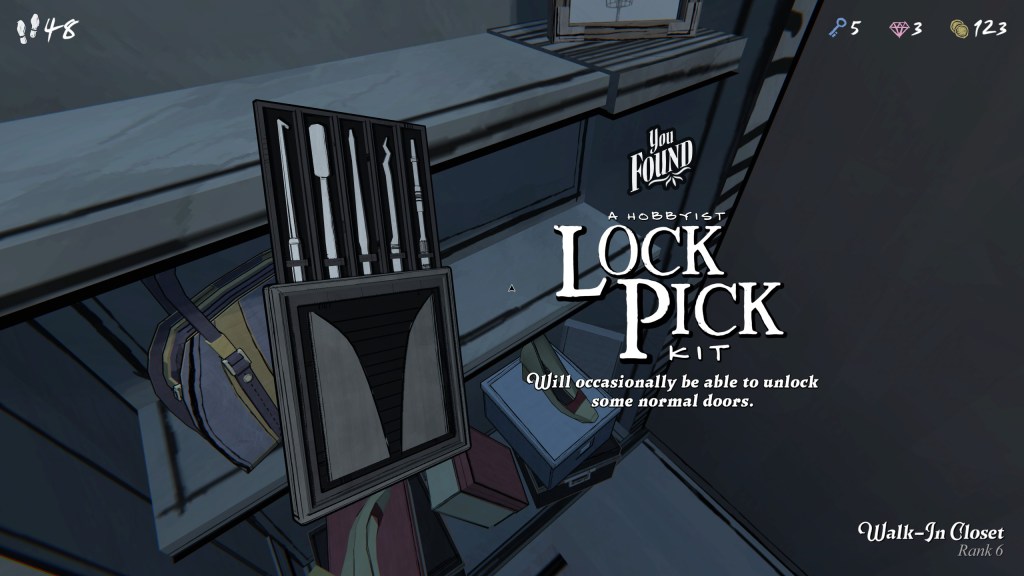
The further you go into the Blue Prince mansion, the more likely you are to run into locked doors. Hopefully, you find enough Keys to get you through, but the lockpick is there to help you out when Keys run dry. It isn’t guaranteed to work, so don’t expect to sail through every door. However, it works often enough, especially if you combine it with the Metal Detector to make the Pick Sound Amplifier.
The post Blue Prince Items Ranked By Usefulness appeared first on ComicBook.com.